官方文档: Spring Data Neo4j
基于官方文档,基本就能完成基本的接入,Neo4j的版本很乱,如果使用SpringBoot2.+的话,一定要注意Neo4j Server的版本与Driver的匹配关系,否则很容易踩坑。 由于我不是生产使用,直接用官方最新反倒是没遇到此类问题,但网上对于这个问题遇到的很多。
简单接入
写了几个单测,看了下流程,得益于SpringBoot-Data的封装,和操作MongoDB、MySQL等关系型数据库基本无异,使用过程很丝滑。
@Test
public void readAll() {
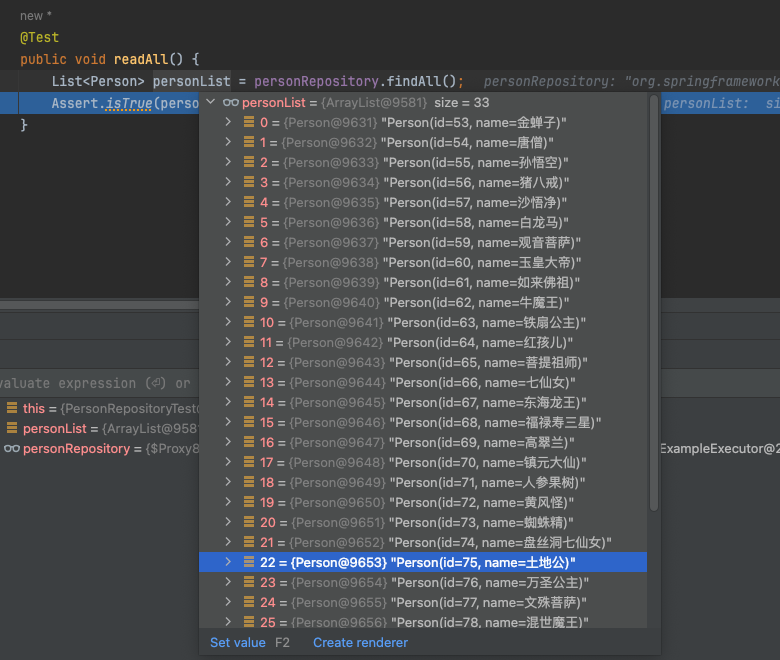
List<Person> personList = personRepository.findAll();
Assert.isTrue(!personList.isEmpty(), "isEmpty");
}
@Test
public void delById() {
personRepository.findById(71L).ifPresent(person -> {
System.out.println("before delete: " + person.getName());
});
personRepository.deleteById(71L);
Person person = personRepository.findById(71L).orElse(null);
System.out.println("after delete: " + person);
}
@Test
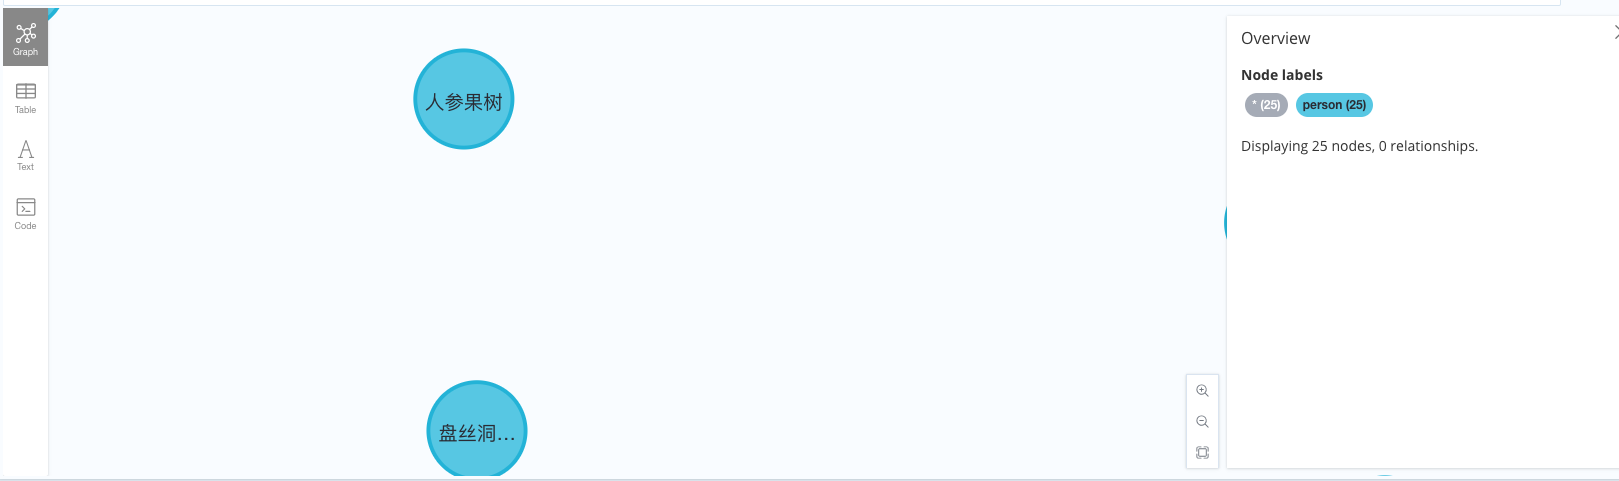
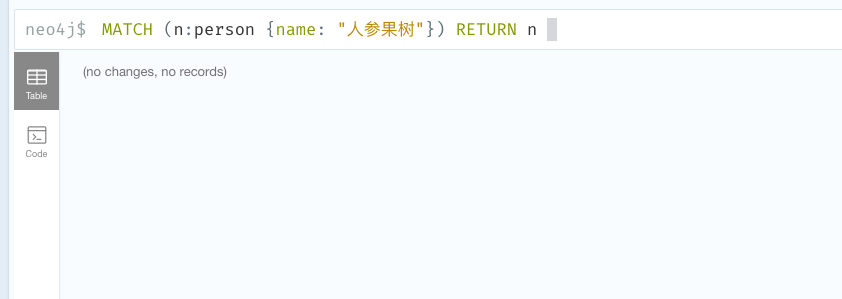
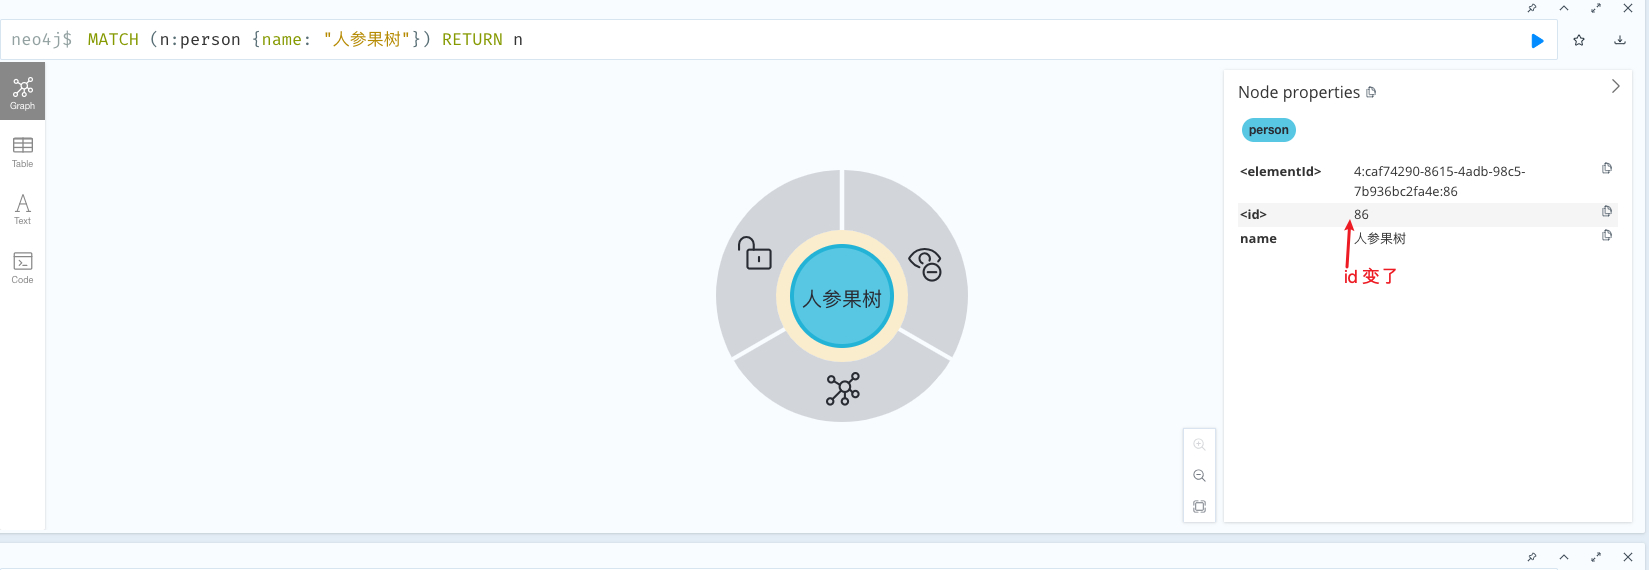
public void save() {
Person person = new Person();
person.setName("人参果树");
personRepository.save(person);
}
- findAll
- delById
删除前:
删除后:
- saveOne
关系的创建
对于节点的基本查询,由于其结构类似于结构性,和结构性数据库查询无异,但是对于N4o4j特殊的关系结构,就有一些不一样了。
@Repository
public interface PersonRepository extends Neo4jRepository<Person, Long> {
Person findByName(String name);
/**
* 创建人物关系
* @param from 源
* @param relation 关系
* @param to 目标
*/
@Query("match (n:person {name: $from}),(m:person {name: $to}) " +
"create (n)-[:西游人物关系{relation:$relation}]->(m)")
void createRelation(String from, String relation, String to);
}
@SpringBootTest
public class PersonRelationShipRepositoryTest {
@Resource
private PersonRepository personRepository;
@Test
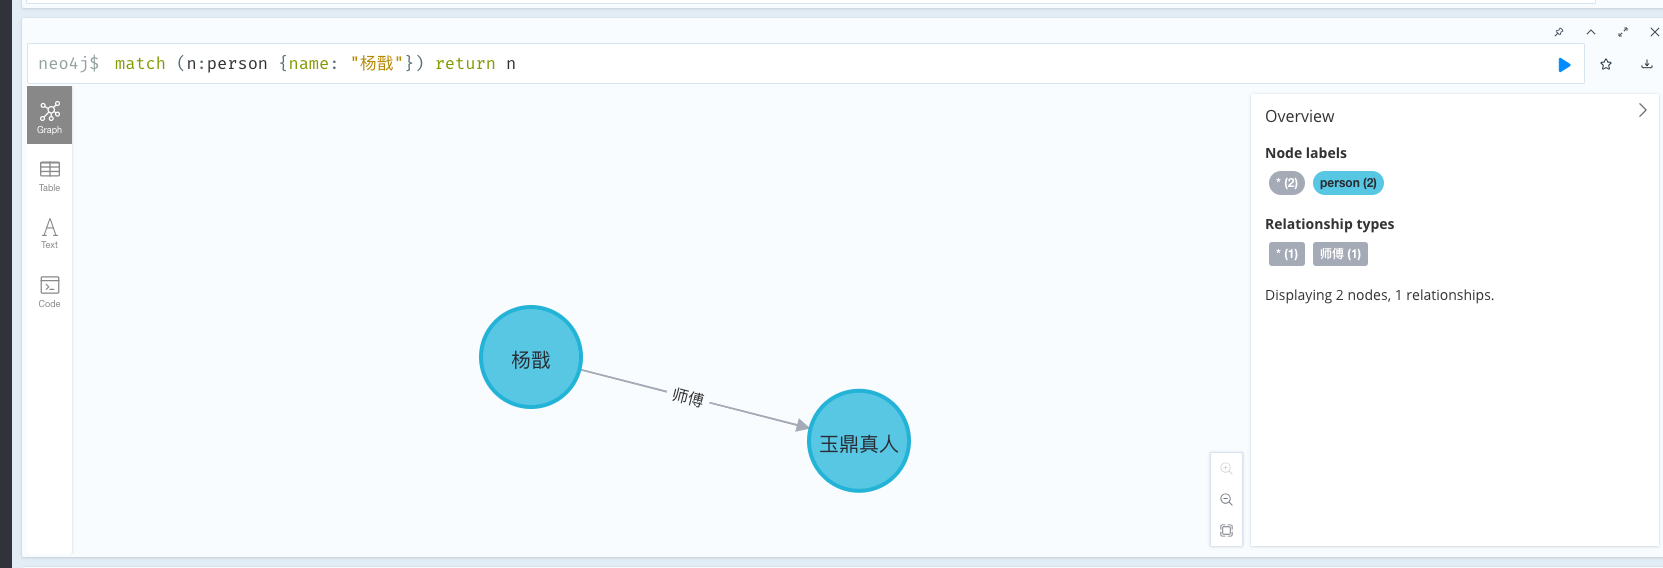
public void addRelation() {
Person personYangjian = personRepository.findByName("杨戬");
Person person2 = new Person();
person2.setName("玉鼎真人");
PersonRelationShip relationShip = new PersonRelationShip();
relationShip.setChild(person2);
relationShip.setRelation("师傅");
personYangjian.getPersonRelationShips().add(relationShip);
personRepository.save(personYangjian);
}
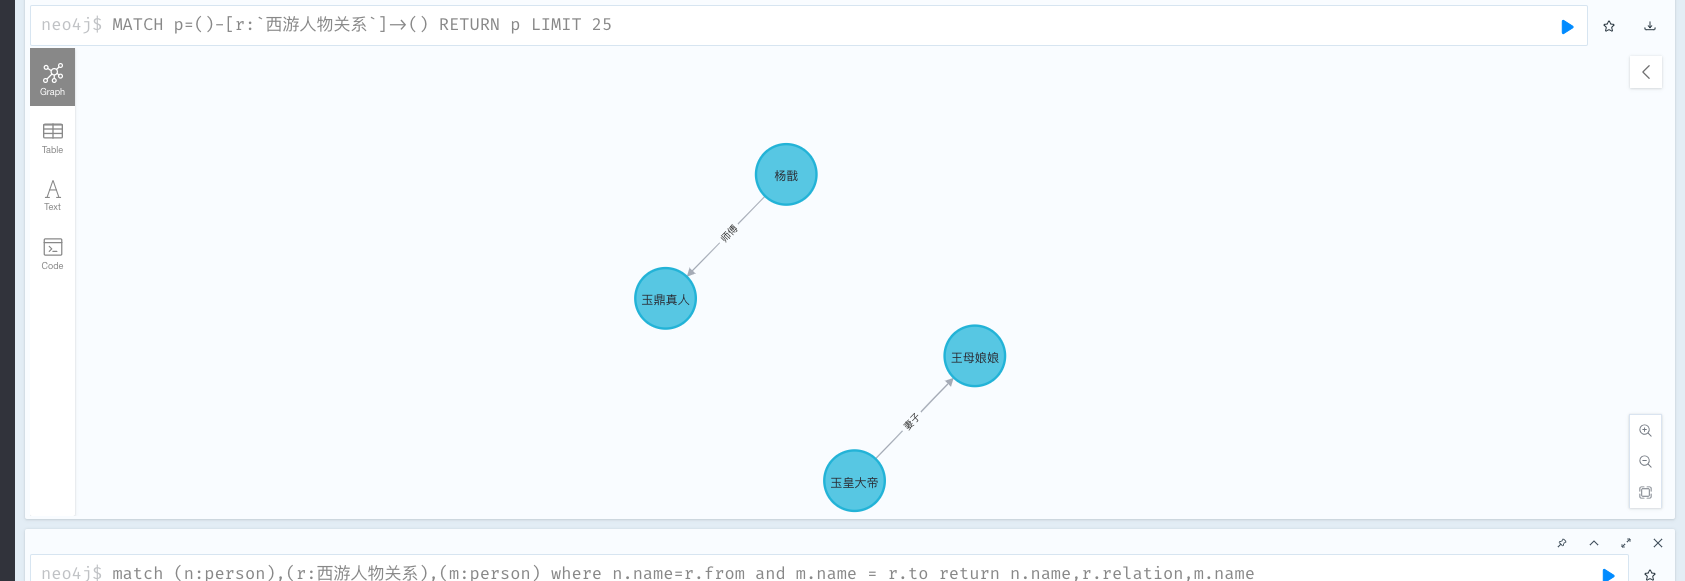
@Test
public void addRelation2() {
personRepository.createRelation("玉皇大帝", "妻子", "王母娘娘");
}
}
创建关系第一种方式
创建关系第二种方式
坑
坑1
spring-boot-data 3.+的很多注解都改变了,例如:
- 在老版本中标注节点使用的是
@NodeEntity,新版本被替换为@Node(labels = "person") - 在老版本中,关系的表述是在关系对象中通过
@RelationshipEntity、@StartNode、@EndNode来描述,在新版这些都没有了。取而代之的是在源对象中补充属性@Relationship(type = "师傅", direction = Relationship.Direction.OUTGOING)来描述关系。
老关系:
@Data
@RelationshipEntity(type = "xxx")
public class PersonRelationShip {
    @Id
    @GeneratedValue
    private Long id;
    @StartNode
    private Person parent;
    @TargetNode
    private Person child;
}
新关系:
@Node(labels = "person")
@Data
public class Person {
    @Id
    @GeneratedValue
    private Long id;
    @Property
    private String name;
    @Relationship(type = "师傅", direction = Relationship.Direction.OUTGOING)
    private List<PersonRelationShip> personRelationShips;
}
@Data
@RelationshipProperties
public class PersonRelationShip {
    @Id
    @GeneratedValue
    private Long id;
    @TargetNode
    private Person child;
    @Property
    private String relation;
}
坑2
spring-boot-data 3.+的@Query中想要获取参数,需要使用 $fieldName,而不是 {0} 的方式,如果自己写的时候一定要注意。比如:
/**
    * 创建人物关系
    * @param from 源
    * @param relation 关系
    * @param to 目标
    */
@Query("match (n:person {name: $from}),(m:person {name: $to}) " +
        "create (n)-[:西游人物关系{relation:$relation}]->(m)")
void createRelation(String from, String relation, String to);